How to set up GA4 + server‑side tracking in Shopware 6?
Quick Answer
Setting up GA4 with server-side tracking in Shopware 6 means sending events through your own tracking endpoint instead of relying only on browser JavaScript. This improves data accuracy, survives ad blockers more reliably, and gives you better attribution for purchases and checkout events. The setup usually combines GA4, Google Tag Manager, a server-side GTM container, and Shopware event integration. The steps below cover the full setup flow, validation process, and the mistakes most stores run into during launch.
Before You Start
- ✦ GA4 property access — you need admin access to create measurement IDs and API secrets.
- ✦ Google Tag Manager account — both web and server containers are required for proper routing.
- ✦ Shopware admin access — you’ll need this to install tracking plugins or inject custom scripts.
- ✦ A tracking subdomain — most setups use something like analytics.yourstore.com for the server container.
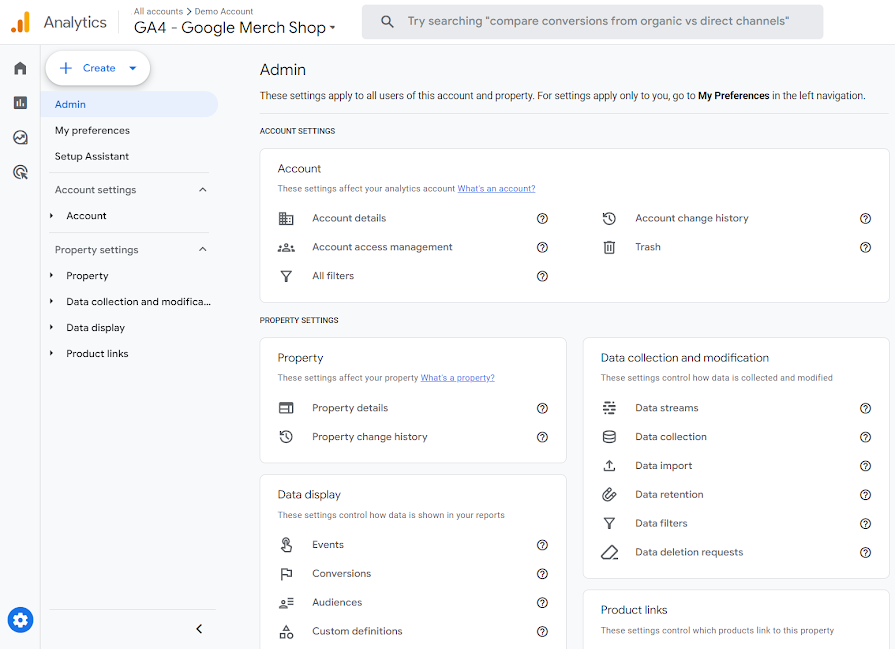
Create your GA4 property
Start with a clean GA4 property dedicated to your Shopware storefront. Inside GA4, create a web data stream and copy the Measurement ID. Then generate a Measurement Protocol API secret because the server container will use that to send events directly into GA4. Most tracking problems later come from missing API credentials or using the wrong stream ID between staging and production.
- Create a dedicated GA4 property for the live store
- Enable Enhanced Measurement for baseline events
- Generate and store the API secret securely
Deploy the server container
Create a server-side GTM container and deploy it on Google Cloud Run or another supported hosting provider. Then connect a custom tracking subdomain like analytics.yourstore.com. This lets your events pass through your own endpoint instead of directly from the browser to Google. That single change usually improves tracking consistency on Safari and ad-blocked browsers.
- Create a new server container in GTM
- Deploy the container to Cloud Run
- Point a custom DNS record to the container
Configure the web container
Your browser-side GTM container should now send events into the server container instead of directly to GA4. Configure the GA4 tag transport URL and connect it to the server endpoint you created earlier. This is also the stage where you map ecommerce events correctly. Shopware stores often miss add_to_cart or begin_checkout mapping because the plugin only handles purchases out of the box.
- Install the GTM container into Shopware
- Set the transport URL in GA4 configuration tags
- Map ecommerce events using the Shopware data layer
Connect Shopware ecommerce events
Shopware 6 does not expose a perfect GA4-ready data layer by default in every setup. In most real projects, you’ll either use a tracking extension or create custom event pushes in Twig and JavaScript. Focus first on product_view, add_to_cart, begin_checkout, purchase, and refund events. Those five usually cover the reporting most businesses actually need.
- Push ecommerce data into the GTM data layer
- Pass transaction IDs and item arrays consistently
- Include customer and consent state where legally required
dataLayer.push({
  event : 'purchase',
  ecommerce : {transaction_id : '100045', value : 299.00, currency : 'EUR'}
});Validate tracking accuracy
Before publishing anything, test the full customer journey from product page to successful order. Use GTM preview mode, GA4 DebugView, and browser network inspection together. One tool alone is never enough. The biggest issue we see is duplicated purchase events caused by confirmation page reloads or payment provider redirects.
- Test guest and logged-in checkout flows
- Verify purchase values match actual orders
- Confirm events appear inside GA4 DebugView
Publish and monitor events
Once validation passes, publish both GTM containers and monitor data daily during the first week. Compare order counts between Shopware and GA4 rather than looking only at revenue totals. Small differences are normal because of consent and browser restrictions. Large gaps usually mean payment callback problems or broken event triggers after checkout.
- Publish web and server GTM containers together
- Monitor event counts during the first week
- Review checkout drop-offs inside GA4 funnels
Shopware GA4 Tracking Checklist
0 of 8 completeMistakes Most Developers Make
! Missing checkout funnel events
What happens: You can see purchases but have no visibility into where customers drop out during checkout.
Fix: Track begin_checkout, add_shipping_info, and add_payment_info events alongside purchases.
! Duplicate purchase event firing
What happens: Revenue numbers become inflated inside GA4 and connected ad platforms.
Fix: Deduplicate using transaction IDs and restrict purchase triggers to a single successful state.
! Using direct GA4 scripts
What happens: Browser restrictions and ad blockers remove a noticeable amount of ecommerce data.
Fix: Route traffic through a first-party server-side GTM endpoint instead of sending directly to Google.
Key Takeaway
The short version: GA4 server-side tracking in Shopware 6 works best when you combine a browser GTM container, a server GTM container, and a properly structured ecommerce data layer. Most tracking failures happen because stores skip checkout event mapping or never validate duplicate purchases after launch. Your tracking endpoint should run on a first-party subdomain, and your purchase events must always include stable transaction IDs. Start with Step 2—that one alone handles most of the tracking reliability improvements.
Related Answers
Still need help?
Talk to our Shopware experts
We've handled GDPR/CCPA compliance for dozens of EU & US Shopware stores.