How to run RMA/returns workflows in Flow Builder without coding?
Quick Answer
You can run fully automated RMA and returns workflows in Shopware using Flow Builder without writing custom plugins. Most stores use Flow Builder to trigger return approval emails, notify warehouse teams, update order tags, and call external shipping or ERP systems through webhooks. The setup mainly comes down to choosing the right triggers, conditions, and actions—plus making sure your return statuses stay consistent across the process.
Before You Start
- ✦ Flow Builder access — You need admin permissions to create and activate flows.
- ✦ Return or RMA statuses — Define statuses like Requested, Approved, Received, and Refunded before building automation.
- ✦ Email templates — Pre-built templates make testing much faster once flows start firing.
Define return statuses
Start by mapping the actual return lifecycle your team uses. Most stores need at least Requested, Approved, Rejected, Item Received, and Refunded. Flow Builder works best when every automation depends on a clear status transition instead of manual notes or internal comments. This also makes reporting cleaner later when you need to measure refund delays or warehouse processing times.
- Create dedicated return-related statuses
- Align naming with your support team workflow
- Separate refund states from shipping states
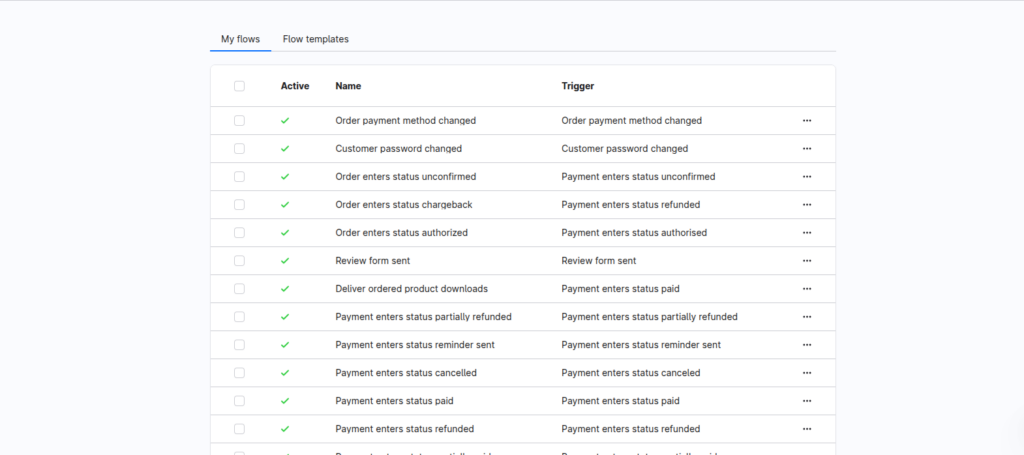
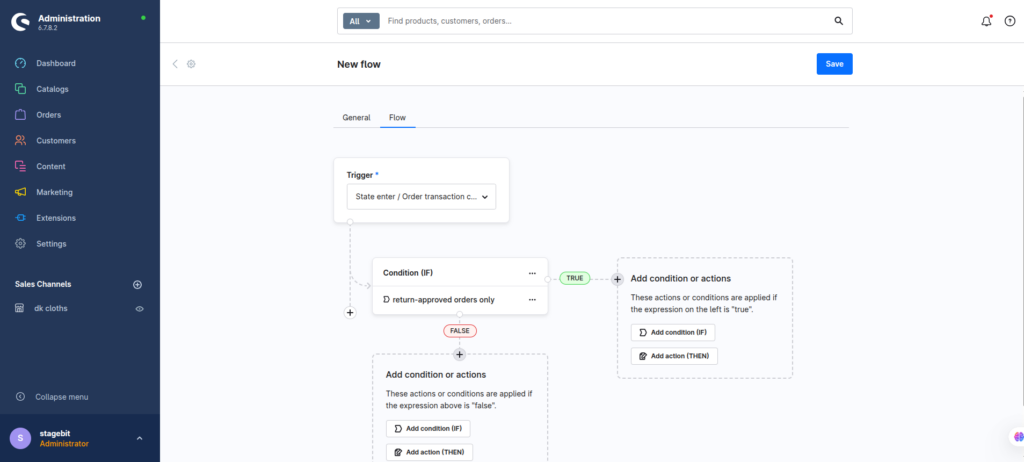
Create the return trigger
Build a new flow using an order or state-change trigger. In most cases, the best trigger is when an order state changes to a return-related status. That keeps your logic centralised and avoids creating separate flows for every channel. You can also use custom fields or tags as conditions if your support team manually approves returns first.
- Select an order state transition trigger
- Add conditions for return-approved orders only
- Name flows clearly for future maintenance
Add customer notifications
Once the trigger is working, add email actions for each return stage. Customers should know when the return was approved, when the item arrived back at the warehouse, and when the refund was processed. This cuts support tickets fast because customers stop chasing manual updates. Keep the messaging short and operational instead of marketing-heavy.
- Attach the correct email template per status
- Include return reference numbers in templates
- Test every template with real order data
Connect external systems
Most mid-market stores also push return events into ERPs, warehouse software, or shipping platforms. Use webhook or app-based actions inside Flow Builder to send payloads when a return reaches a specific stage. This removes manual re-entry work for support teams and keeps refund processing aligned across systems.
- Send webhook calls on approved returns
- Map return IDs consistently across systems
- Log failed webhook responses for debugging
Test the full workflow
Before activating flows in production, run several real return scenarios end-to-end. Test approved returns, rejected requests, partial refunds, and delayed warehouse receipts. Most automation problems happen because one status transition was skipped or renamed after the flow was created. You also want to confirm duplicate emails are not firing from another plugin.
- Run complete test orders in staging
- Check webhook logs and email delivery
- Activate flows only after validation passes
Shopware Returns Automation Checklist
0 of 6 completeMistakes Most Developers Make
! Triggering flows from wrong statuses
What happens: Customers receive emails too early or duplicate refunds trigger accidentally.
Fix: Use dedicated return statuses and test every transition manually before launch.
! Ignoring failed webhook responses
What happens: Warehouse or ERP systems silently miss return updates for days.
Fix: Store webhook logs and create alerts for non-200 API responses.
! Reusing checkout email templates
What happens: Customers receive confusing order language during the returns process.
Fix: Build dedicated RMA templates with return-specific wording and support details.
Key Takeaway
The short version: Shopware Flow Builder can handle most RMA automation without custom code if your return statuses and flow conditions are structured properly. Focus first on status consistency, then automate notifications and external system updates around those transitions. The biggest problems usually come from duplicate triggers, vague return states, or untested webhook payloads. Build the workflow around operational events instead of manual support actions. Start with Step 1—that one alone handles most of it.
Related Answers
Still need help?
Talk to our Shopware experts
We've handled GDPR/CCPA compliance for dozens of EU & US Shopware stores.