How to enable PayPal, Apple Pay, and BNPL methods in Shopware 6?
Quick Answer
You can enable PayPal, Apple Pay, and Buy Now Pay Later methods in Shopware 6 using the official PayPal extension and a properly connected PayPal merchant account. Most stores can configure this in under an hour, but the checkout, domain verification, sales channel assignment, and express button settings are where mistakes usually happen. The steps below cover installation, Apple Pay domain validation, BNPL activation, testing, and the settings most teams miss before going live.
Before You Start
- ✦ A verified PayPal Business account — Apple Pay and Pay Later options will not appear until PayPal finishes merchant verification.
- ✦ HTTPS enabled on your storefront — Apple Pay only works on secure domains with a valid SSL certificate.
- ✦ A production sales channel domain — Apple Pay domain registration often fails on temporary staging URLs.
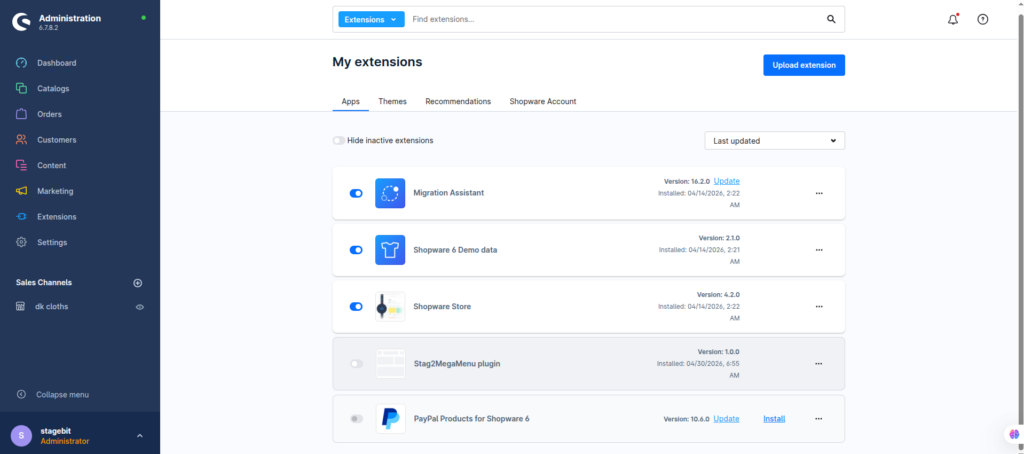
Install the PayPal extension
Start with the official PayPal extension from the Shopware Store. Avoid older third-party integrations unless you have a very specific legacy requirement. The official plugin handles PayPal Checkout, Apple Pay, Pay Later messaging, Express Checkout, and most BNPL methods in one place. After installation, activate the extension and clear caches before testing anything. A lot of “missing payment method” problems come from stores skipping the cache refresh after activation.
- Install the official PayPal extension
- Activate the extension after installation
- Clear Shopware cache and refresh plugins
Connect your PayPal account
Open the PayPal payment method settings and connect your merchant account using the built-in onboarding flow. Shopware will pull API credentials automatically. Once connected, switch the extension from sandbox to live mode only after you finish testing. If your store runs multiple sales channels, double-check which storefronts the payment methods are assigned to. This catches a surprising number of multi-store launches off guard.
- Connect your PayPal Business account
- Assign payment methods to active sales channels
- Keep sandbox enabled during setup testing
Enable Apple Pay
Apple Pay inside Shopware 6 is usually delivered through the PayPal Checkout integration. Once your PayPal account is connected, enable Apple Pay and register your storefront domain. PayPal will attempt domain verification automatically, but some hosting stacks block the verification file path. Test using Safari on a real Apple device after activation because desktop Chrome will not show the button correctly.
- Enable Apple Pay in PayPal settings
- Verify your production domain
- Test on Safari with an Apple Wallet device
Activate BNPL methods
PayPal Pay Later, installment payments, and other BNPL methods are usually controlled inside your PayPal merchant account first. After approval, they become available in Shopware automatically or through individual toggles. Availability depends on customer region, currency, device, and basket value. So don’t panic if every test order does not show the same financing options.
- Enable Pay Later and installment options
- Check supported currencies and regions
- Verify eligibility rules with test orders
Test the full checkout
Before going live, test every payment flow from storefront to order confirmation. That includes guest checkout, mobile checkout, refunds, canceled payments, and express buttons from product pages. Watch the order status transitions inside Shopware carefully. If webhook communication is failing, orders may remain unpaid even when customers were charged successfully.
- Place sandbox and live test orders
- Test mobile and express checkout flows
- Confirm webhook and order status updates
Shopware Payment Setup Checklist
0 of 8 completeMistakes Most Developers Make
! Testing Apple Pay incorrectly
What happens: The Apple Pay button never appears during testing, so teams assume the integration failed.
Fix: Test with Safari on a supported Apple device using a real Wallet-enabled account.
! Forgetting sales channel assignment
What happens: Payment methods appear in admin but not on the storefront checkout.
Fix: Assign every payment method to the correct sales channel and customer group.
! Skipping webhook validation
What happens: Customers pay successfully but orders stay unpaid or stuck in open status.
Fix: Confirm PayPal webhook events reach Shopware without firewall or CDN blocking.
! Using staging storefront domains
What happens: Apple Pay domain registration fails repeatedly during setup.
Fix: Validate Apple Pay against the final production HTTPS domain whenever possible.
Key Takeaway
The short version: Shopware 6 already supports PayPal, Apple Pay, and BNPL methods well through the official PayPal extension. Most issues happen around sales channel assignment, Apple Pay testing conditions, or webhook handling—not the actual installation. Use sandbox mode first, validate your live HTTPS domain, and test every checkout flow before switching to production. If Pay Later methods do not appear immediately, check merchant eligibility and regional support inside PayPal first. Start with Step 2—that one alone handles most of it.
Related Answers
Still need help?
Talk to our Shopware experts
We've handled GDPR/CCPA compliance for dozens of EU & US Shopware stores.