How to automate VAT number validation and invoice creation?
Quick Answer
You can automate VAT number validation and invoice generation in Shopware by combining EU VAT validation services, Shopware tax rules, and an invoice extension or ERP integration. Most stores use VIES validation during checkout or account registration, then trigger automatic PDF invoice creation after payment capture. The setup itself is not difficult—but tax rule mapping, B2B edge cases, and failed validation handling are where most projects break. The steps below cover the full setup from validation logic to invoice automation and testing.
Before You Start
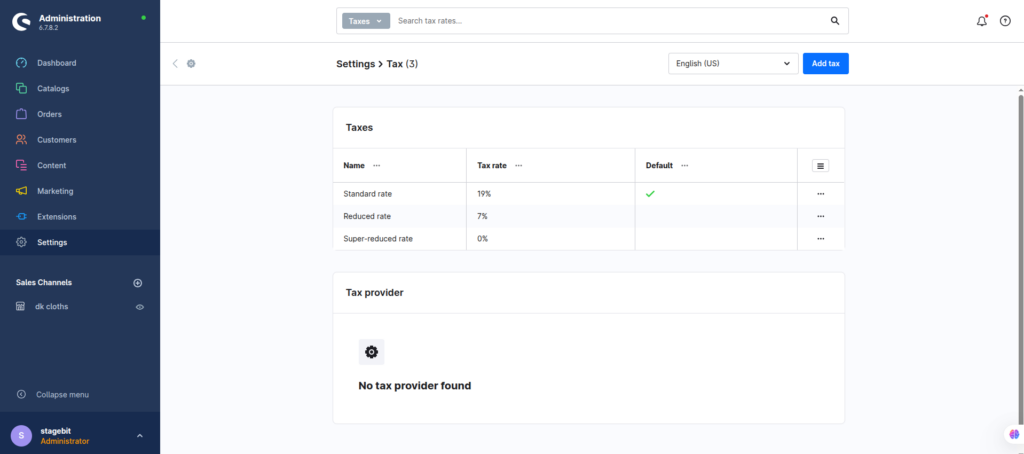
- ✦ Shopware 6 tax setup — Your country tax rules must already work correctly before adding automation.
- ✦ B2B customer fields enabled — You need company name and VAT ID fields available during registration or checkout.
- ✦ Invoice extension or ERP connector — Shopware does not create advanced compliant invoices out of the box for every EU workflow.
Enable B2B customer fields
Start by exposing company-related fields during customer registration and checkout. That includes company name, VAT ID, billing address, and country selection. Without this structure, automated tax validation becomes unreliable because Shopware cannot distinguish between B2B and B2C customers correctly. Most EU stores also create a dedicated customer group for VAT-exempt companies so tax display rules stay predictable after approval.
- Enable company registration fields
- Add VAT ID as a required field for B2B accounts
- Create separate B2B customer groups if needed
Connect VAT validation
Most Shopware projects use the EU VIES system or a commercial validation API to verify VAT numbers in real time. This validation should happen during registration or checkout before the order is completed. The goal is simple: stop invalid VAT IDs from creating tax-exempt orders. If you skip this step, finance teams usually end up manually correcting invoices later.
- Install a VAT validation plugin or middleware
- Validate VAT numbers against the correct country prefix
- Store validation responses for audit records
Configure tax logic
Once VAT validation works, connect it to Shopware tax rules. Most EU B2B stores apply reverse-charge VAT only when the customer is outside the merchant’s home country and the VAT number passes validation. Domestic VAT rules usually still apply even for business customers. This is where OSS and intra-community sales logic gets messy if rules overlap.
- Create separate tax rules for B2B exports
- Apply reverse-charge only after successful validation
- Test multiple EU country combinations
Generate invoices automatically
The next step is creating invoices after successful payment or order completion. Most stores handle this using document automation plugins, ERP systems, or Shopware Flow Builder. Your invoice should pull the validated VAT number directly from the customer profile and include correct tax wording for reverse-charge transactions.
- Trigger invoice creation after payment capture
- Insert VAT ID dynamically into invoice templates
- Email PDF invoices automatically to customers
Test real-world scenarios
Before going live, simulate different customer types and checkout paths. Test failed validation responses, expired VAT IDs, domestic B2B orders, EU exports, refunds, and guest checkouts. This catches most tax automation bugs before finance teams discover them after launch. We usually find at least one incorrect edge-case rule during testing on mid-sized stores.
- Place test orders from multiple EU countries
- Verify invoice PDFs manually before launch
- Check accounting exports after order creation
Shopware VAT Automation Checklist
0 of 7 completeMistakes Most Developers Make
! Applying VAT exemption too early
What happens: Invalid VAT numbers still receive tax-free pricing.
Fix: Apply reverse-charge rules only after successful validation responses are confirmed.
! Ignoring failed API responses
What happens: Checkout failures spike whenever VIES becomes unavailable.
Fix: Add fallback handling and flag questionable orders for manual review instead.
! Forgetting invoice compliance wording
What happens: Finance teams manually correct invoices after export.
Fix: Add country-specific reverse-charge wording directly into invoice templates.
Key Takeaway
The short version: automate VAT validation first, then connect tax exemptions and invoice creation afterward. Most problems happen when stores skip validation checks or apply reverse-charge rules too broadly. Your invoices also need correct VAT wording and audit records if you sell across the EU. Test failed validation paths just as heavily as successful ones because those edge cases create most accounting headaches after launch. Start with Step 2—that one alone handles most of it.
Related Answers
Still need help?
Talk to our Shopware experts
We've handled GDPR/CCPA compliance for dozens of EU & US Shopware stores.