How to integrate DHL/DPD/UPS labels and tracking in Shopware 6?
Quick Answer
You can integrate DHL, DPD, and UPS shipping labels and tracking directly into Shopware 6 using carrier plugins or middleware platforms like Sendcloud. Most stores use a plugin-based setup so warehouse staff can generate labels, print packing slips, and push tracking numbers back into customer emails automatically. The setup itself is not difficult—but carrier credentials, webhook configuration, and shipping rule mapping are where most projects go wrong. The steps below cover the full setup flow from carrier accounts to automated tracking updates.
Before You Start
- ✦ Carrier business accounts — DHL, DPD, and UPS all require API-enabled shipping accounts before labels can be generated.
- ✦ Shopware admin access — you need permission to install apps, configure shipping methods, and edit Flow Builder rules.
- ✦ Correct shipping zones and tax setup — label pricing and service availability depend on destination rules already being configured properly.
Choose your integration
First decide whether you want direct carrier plugins or a shipping hub like Sendcloud. Direct integrations give you more control over carrier-specific features. Middleware platforms are faster to launch and easier for multi-carrier setups. Most mid-market stores running DHL, DPD, and UPS together choose middleware because it reduces maintenance and standardises label workflows across warehouses.
- Compare carrier-native plugins against shipping hubs
- Decide whether labels are generated individually or in bulk
- Confirm warehouse printer compatibility before rollout
Install the shipping app
Install the carrier plugin or shipping platform connector from the Shopware Store. After installation, activate the extension and check that scheduled tasks and webhooks are enabled correctly. This is where many stores accidentally leave apps inactive in production after testing on staging.
- Install the selected shipping integration
- Activate the extension in the correct sales channel
- Verify webhook and scheduled task status
Connect carrier credentials
Add the API credentials provided by DHL, DPD, or UPS. Depending on the carrier, this may include API usernames, passwords, account numbers, customer IDs, or OAuth tokens. Always test against sandbox environments first if the carrier offers them. Live credentials often have shipment limits or address validation rules that are stricter than expected.
- Paste production API credentials carefully
- Run a test shipment before going live
- Validate warehouse sender addresses and return addresses
Map shipping methods
Match your Shopware shipping methods to the correct carrier services. For example, express shipping should map to UPS Express Saver or DHL Express rather than a standard parcel service. This controls both pricing and the label type generated during fulfilment. Incorrect mappings usually appear later as failed pickup scans or rejected shipments.
- Create separate methods for domestic and international shipping
- Assign correct carrier services to each rule
- Test checkout shipping selection thoroughly
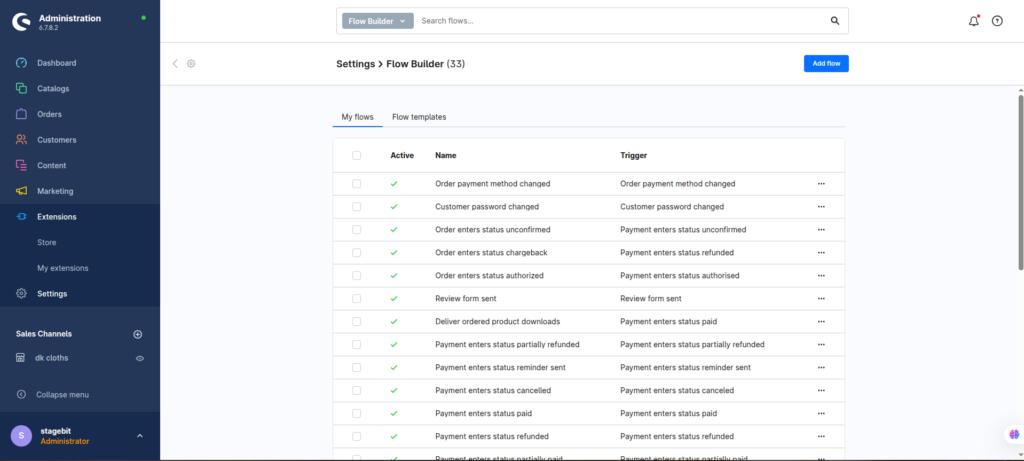
Automate tracking updates
Configure automated emails and status updates once tracking numbers are created. Most stores trigger this when the order changes to “shipped.” You can also push tracking data into ERP systems, CRMs, or customer portals through Flow Builder and webhooks. This reduces support tickets significantly because customers can self-track parcels.
- Create shipment notification flows
- Insert tracking URLs dynamically into emails
- Test tracking links from real customer accounts
Test warehouse workflows
Before going live, process several real test orders from checkout to delivery confirmation. Include failed delivery cases, international shipments, and return labels. The goal is not just verifying label generation—it is validating the full operational flow used by warehouse teams every day.
- Print labels from multiple devices and browsers
- Verify barcode readability with carrier scanners
- Confirm tracking status updates after dispatch
Shopware Shipping Integration Checklist
0 of 8 completeMistakes Most Developers Make
! Using generic shipping methods
What happens: Orders route to the wrong carrier service and labels fail during fulfilment.
Fix: Create separate Shopware shipping methods for each carrier and delivery type.
! Ignoring webhook failures
What happens: Tracking numbers stop syncing even though labels still generate correctly.
Fix: Monitor webhook logs and scheduled task queues after deployment.
! Skipping warehouse testing
What happens: Labels print correctly in admin but fail on actual warehouse thermal printers.
Fix: Run end-to-end fulfilment testing with the same hardware used in operations.
Key Takeaway
The short version: integrating DHL, DPD, and UPS into Shopware 6 is mostly about choosing the right integration model and mapping shipping services correctly. The technical setup itself is usually quick. The operational testing is what separates stable fulfilment from constant warehouse issues. Focus on API credentials, webhook reliability, and realistic shipment testing before launch. Start with Step 1—that one alone handles most of it.
Related Answers
Still need help?
Talk to our Shopware experts
We've handled GDPR/CCPA compliance for dozens of EU & US Shopware stores.