How to send automated order emails and webhook calls with Flow Builder?
Quick Answer
You can use Shopware Flow Builder to trigger automated order emails, Slack alerts, ERP notifications, and external webhook calls whenever an order event happens. Most stores use flows tied to events like Order placed, payment status changes, or shipment updates. The setup usually takes under an hour if your mail templates and webhook endpoints already exist. Below is the exact setup process, including testing, conditions, and the mistakes that break flows most often.
Before You Start
- ✦ Flow Builder access — You need admin permissions to create and activate flows.
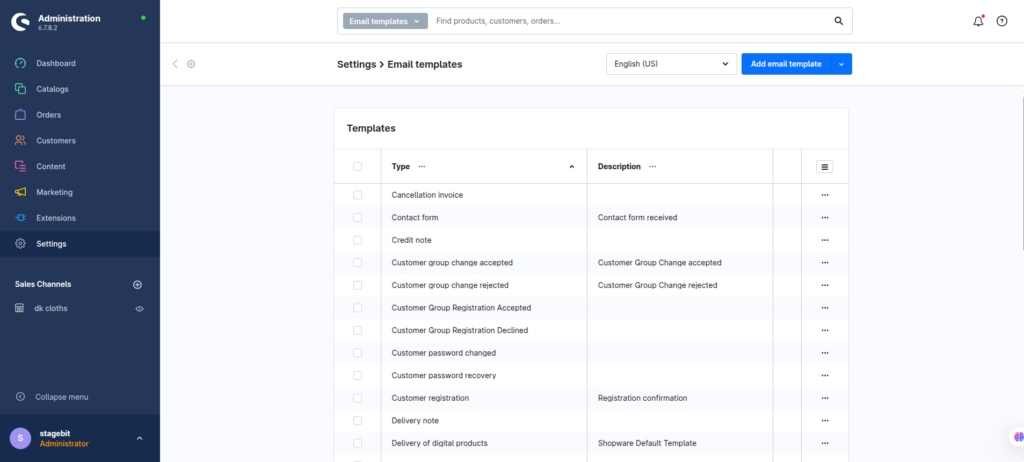
- ✦ Mail templates configured — Automated emails pull content from Shopware mail templates.
- ✦ Webhook endpoint ready — Your ERP, CRM, or middleware tool must accept incoming POST requests.
Open Flow Builder
Flow Builder is Shopware’s event automation system. Every automation starts with a trigger event like an order being placed, paid, cancelled, or shipped. Start by creating a new flow and giving it a name your team will still understand six months later. Avoid names like “Order Flow 2” because troubleshooting gets messy once multiple flows exist.
- Click Create flow
- Name the flow clearly
- Select an order-related trigger event
Choose the right trigger
This is where most automation problems start. Stores often trigger emails on “Order placed” even though payment hasn’t cleared yet. That works for confirmation emails, but not for ERP syncs or warehouse processes. Match the trigger to the business action you actually need. Payment-approved workflows should usually wait for a successful transaction status.
- Select Order placed for confirmation emails
- Select Transaction paid for ERP or fulfilment syncs
- Add conditions for sales channel or payment method if needed
Configure automated emails
Shopware can send transactional emails directly from Flow Builder using existing mail templates. Pick the correct template and verify the sender settings before activating the flow. If your store runs multiple languages or sales channels, check that each template version exists. Otherwise customers may receive fallback content in the wrong language.
- Add the Send email action
- Select the correct mail template
- Verify sender address and language mapping
Add webhook actions
Webhooks let Shopware send order data to external systems like ERPs, CRMs, WMS tools, or automation platforms. Depending on your Shopware version and plugin setup, this may use the native webhook action or a custom app integration. Always test payload formatting before going live because external systems often reject incomplete data silently.
- Add the Call URL or webhook action
- Paste the destination endpoint URL
- Map order variables into the request payload
Test and activate flows
Before activating the flow, run test orders through every condition path. That includes failed payments, guest checkout, and alternative shipping methods if your logic depends on them. Flow Builder issues usually appear only in edge cases. A flow that works for one payment method may fail for another because variables differ slightly.
- Place test orders in staging first
- Verify email delivery and webhook responses
- Activate the flow only after validation
Shopware Automation Checklist
0 of 6 completeMistakes Most Developers Make
! Wrong event trigger
What happens: Orders sync before payment approval or shipment confirmation.
Fix: Use payment or fulfilment status events instead of generic order-created triggers.
! Missing language templates
What happens: Customers receive fallback emails in the wrong language or with broken variables.
Fix: Create and test mail templates for every active sales channel language.
! Untested webhook payloads
What happens: External systems reject requests silently and orders never sync properly.
Fix: Validate payload structure against the receiving system before enabling live automation.
Key Takeaway
The short version: Shopware Flow Builder can automate both transactional emails and external webhook integrations without custom development for most stores. The biggest mistakes are using the wrong trigger event, skipping webhook testing, and assuming email delivery works because the flow itself succeeded. Separate your flows by responsibility, validate every payload, and test against real checkout scenarios before activation. Start with Step 2—that one alone handles most of it.
Related Answers
Still need help?
Talk to our Shopware experts
We've handled GDPR/CCPA compliance for dozens of EU & US Shopware stores.