How to auto‑tag VIP customers and apply special rules in Flow Builder?
Quick Answer
You can automatically tag high-value customers in Shopware using Flow Builder conditions and customer tags. Most stores trigger this based on total revenue, order count, or specific product purchases. Once the VIP tag is applied, you can use it for discount rules, shipping perks, exclusive promotions, or B2B pricing logic. The setup takes place across customer tags, Rule Builder, and Flow Builder—and the order matters more than most teams expect.
Before You Start
- ✦ Flow Builder enabled — This feature is available in Shopware 6 administration under Settings.
- ✦ Customer tagging strategy — Decide upfront whether VIP status is based on revenue, order count, or product categories.
- ✦ Rule Builder access — Your VIP benefits usually depend on rules tied to the tag afterward.
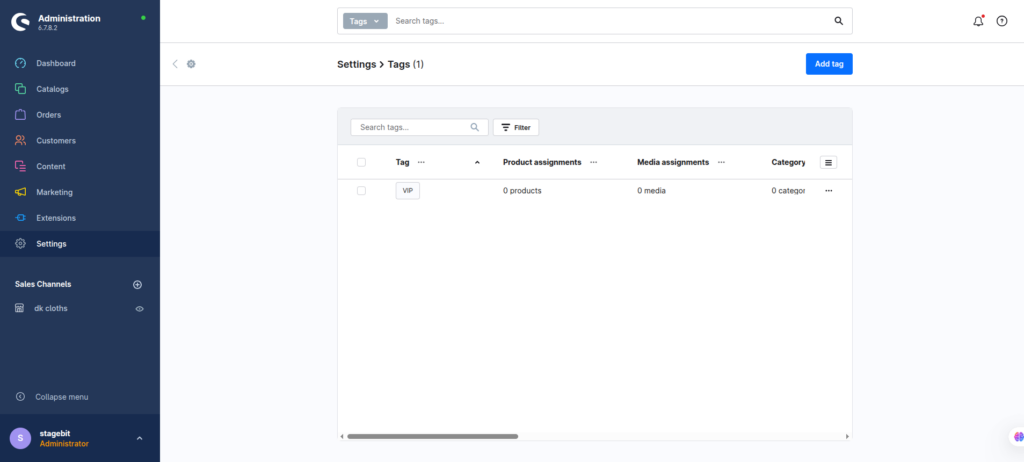
Create the VIP tag
Start by creating a dedicated customer tag for VIP users. Keep the naming simple and permanent because this tag will later connect to promotions, shipping logic, and storefront visibility rules. We usually recommend names like “VIP”, “Wholesale VIP”, or “Gold Customer” instead of campaign-specific names. That avoids rebuilding flows later when your marketing team changes promotion names.
- Create a new customer tag
- Name it consistently across all sales channels
- Save the tag before building flows
Build the VIP condition
Next, define what actually makes someone a VIP customer. Most stores use total order revenue or completed order count. For example, customers with lifetime revenue above €1,000 or more than five completed orders. Keep this logic inside Rule Builder instead of hardcoding conditions directly into Flow Builder. That makes future changes much easier when your thresholds change.
- Create a new customer-based rule
- Set revenue or order conditions
- Test the rule against existing customer accounts
Create the automation flow
Create a new flow triggered by “Order placed” or “Order completed”. In most real projects, we prefer “Order completed” because refunded or failed payments won’t accidentally upgrade customers. Add your Rule Builder condition, then attach the action that adds the VIP customer tag automatically.
- Create a new customer flow
- Select the completed order trigger
- Add the action to assign the VIP tag
Apply VIP store rules
Once tagging works, connect that VIP tag to actual storefront benefits. This is where the setup becomes useful commercially. You can create free shipping rules, early-access promotions, category visibility restrictions, or custom pricing conditions. Most stores stop at tagging and forget the second half entirely.
- Create a customer tag condition
- Attach the condition to promotions or shipping
- Test the storefront with a tagged account
Test the full workflow
Run test orders using staging or internal customer accounts before going live. Check whether the tag applies only after the intended trigger and whether storefront rules react correctly afterward. Also verify that removing orders or refunds does not leave customers permanently tagged if your business rules require downgrading later.
- Place test orders with different totals
- Verify tag assignment timing
- Confirm VIP pricing and promotions activate correctly
Shopware VIP Automation Checklist
0 of 6 completeMistakes Most Developers Make
! Using the wrong trigger
What happens: Customers receive VIP status before successful payment completion.
Fix: Use completed or paid order events instead of raw order placement events.
! Hardcoding rules inside flows
What happens: Marketing teams need developer help every time VIP thresholds change.
Fix: Store business logic in Rule Builder and keep Flow Builder focused on automation actions.
! Forgetting downstream rule testing
What happens: Customers receive the tag but none of the storefront benefits activate.
Fix: Test promotions, shipping, and pricing conditions using a tagged customer account.
Key Takeaway
The short version: create a reusable VIP customer tag, define qualification logic in Rule Builder, then automate the tagging process through Flow Builder after successful orders. Most problems happen because stores use the wrong trigger timing or bury business logic directly inside the flow itself. Keep Rule Builder responsible for conditions and Flow Builder responsible for actions. Then connect the resulting tag to promotions, shipping, or B2B pricing rules. Start with Step 2—that one alone handles most of it.
Related Answers
Still need help?
Talk to our Shopware experts
We've handled GDPR/CCPA compliance for dozens of EU & US Shopware stores.